Create your binder with tips from pros
Want to learn live? Enroll in ScioCamp.
This guide is written by Michelle Li, ScioVirtual’s lead instructor for Dynamic Planet and event captain from Mason HS Science Olympiad.
Hello friends! So, you want to make a binder, but are daunted by the large task ahead. Fret not, because this article will include all of my best tips for successful binder-ing. Hopefully, by the end of it, you will have a beautiful, knowledge-packed binder baby that will help you succeed in competition!
- GETTING STARTED
- Create a designated folder for your binder, whether in Google Drive or Microsoft Word. Do not try to make your entire binder on a single document; it will be a pain to load and format 100+ pages at once.
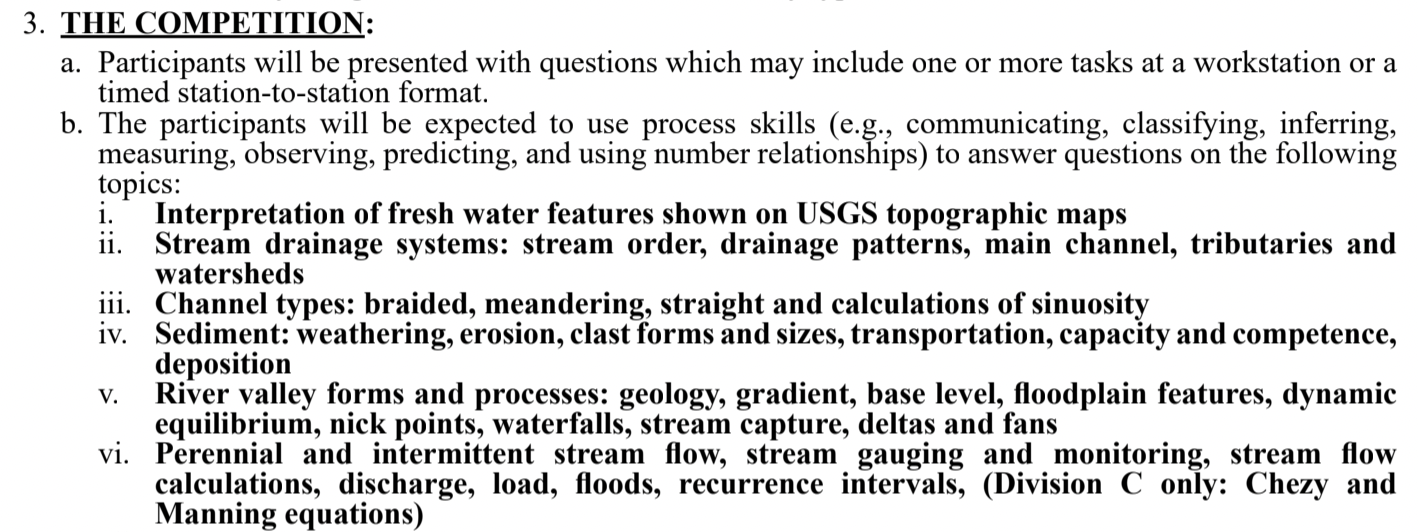
- For non-ID events, the Science Olympiad rules are often divided into a numbered list — topic i, ii, iii, and so on. So, I like to put each number on a separate document. For example, if I were making a Dynamic Planet binder, I would put topographic maps on one document, stream drainage systems on the next, channel types on another, etc.
- Add reference materials. For example, if you’re an Earth science kid, you’ll probably want a conversion sheet, the USGS topographic map symbols, a formula sheet for events like Astronomy, etc.
- FORMATTING & ORGANIZATION
- Formatting and organization is the most important part of making a binder. Because they are so large and can contain such a broad range of information, knowing where to find everything is key to competitive success.
- Each document needs a title. This is a couple words that summarizes the content of the document.
- For example, topic ii in the Dynamic Planet rules is “Stream drainage systems: stream order, drainage patterns, main channel, tributaries and watersheds.” I would just title this document “Stream Drainage Systems.”
- Make the title whatever you want as long as it helps you remember what is on the document.
- This title should be at the top of your document in a larger font, and bolded or underlined.
- Utilize subheadings. These are smaller subtopics such as those listed under each larger topic on the rules.
- These do not need to be in as large a font as the large heading, but should still stand out — try bolding, highlighting, italicizing, etc.
- Bullet point your information. Things are much easier to find when bullet pointed as compared to giant paragraphs.
- Indenting bullet points can be a useful organizational tool. Indent a bullet point using the TAB key.
- Emphasize important information by highlighting, bolding, and changing the color of the text.
- My personal organizational schema is as follows: I highlight all subheadings light blue, use dark-red bolded font for major points, use black bolded font for smaller key points, and change the text color to blue for sentences I want to emphasize.
- Bolding is better for words and phrases, while changing the text color is better for sentences. (In my opinion, there’s not much point to bolding an entire sentence.)
- IMAGES & DIAGRAMS
- All binders and cheat sheets should contain a plethora of images and diagrams. With a binder especially, you have enough space to get multiple different images of the same thing – I would encourage this, because you never know when the exact image you have will pop up on a test.
- For example, if I wanted to add images of a radial drainage system to my Dynamic Planet binder, I would add a couple diagrams of the various drainage systems including radial, images of real-life examples of radial drainage, and images of radial drainage on a topographic map.
- Make sure you know what every single image is, whether this be through labels or captions. Remember that you can always write labels or captions on top of an image after you print.
- Consider making image sheets. I don’t like putting images in the middle of text, so I used one designated page on each document for all the images corresponding to that topic. You, however, can put your images wherever you want – as long as you’re comfortable!
- ID events will definitely require you to make a plethora of image sheets. Our article on ID-ing is in the works!
- PRINTING & ASSEMBLING
- Figure out how you will print well in advance. Spoiler alert: binders are long. They’re a lot of pages to print. So, you probably don’t want to be scrambling the day before a competition trying to find somewhere where you can print 100+ pages. Instead, come up with a printing plan well ahead of time, whether that be at your school, local library, a UPS or Office Depot store, etc.
- Try to print in color if you can.
- Put every page in a sheet protector. You can buy 100 of these for $6.99 and reuse them for the rest of your Science Olympiad career. Not only do sheet protectors protect your precious binder pages, they also make flipping through the binder a lot easier – plastic has a lot less friction than paper.
- Check how wide of a binder you are allowed to have for your event. This varies from event to event, but the general binder rules for most binder events are as follows: each team can have one two-inch, three-ring binder and can bring any materials as long as they are attached to the binder rings.
- This may not be true for every event, so check the rules before your specific events. For example, some events require binders to be closable.
- During the pandemic, teams may be permitted to use two separate binders – take advantage of this new rule!
- Add binder tabs. As I’ve mentioned, the ability to find things quickly is key to succeeding in a binder event. Tabs are a big part of this.
- The five- and eight-pack binder tabs are good, but are limited in number. Instead, use Post-It Flags and stick them to your pages so that they stick out slightly.
- I usually designate one document title to each tab. “Topographic maps” gets a tab, then “stream drainage systems,” and so on.
- Feel free to write whatever you want on the tabs and use as many as you need!
There you have it! I hope this article was helpful to you; remember that you can always tweak these tips to what best fits you. For more information, you can see our article on cheatsheeting, or contact me at great.michelle.li@gmail.com. Happy studying!